Once you’ve built your course in Blackboard and feel ready to share it with students, you will have to activate your course.
At the top right of your course within Blackboard there are a few icons to become familiar with.
 The first icon (the one that looks like an eye) is “Enter Student Preview”. It is a good practice to view your course from the student’s point of view once you’ve made it available, so that you are aware of what is hidden and shown to them.
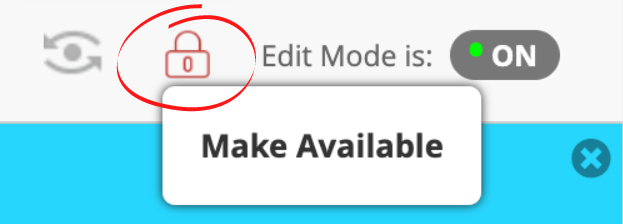
The second icon that looks like a red lock is the one you will click on to make the course available or unavailable to students. If the course is unavailable (as pictured above) everything in the course is hidden from your students until you select “Make Available”.
The next icon is where you can toggle “Edit Mode”. When Edit Mode is on (as shown above), you can make changes to your course easily. When it is off, you will not be able to make edits. You can change this at any time by clicking on/off.
Note: By default, each semester’s course shell is unavailable to students until you make it available (by clicking on the lock and selecting “Make Available”).
Alternately, you can hide specific sections and elements of your course while making the rest of it available to students. For instance, if you wish to just post that week’s content and leave the other modules hidden, you can do so. Here’s how:
Select the down arrow next to your folder or item. Then select “Make Unavailable”. This will hide that piece of content from your students.
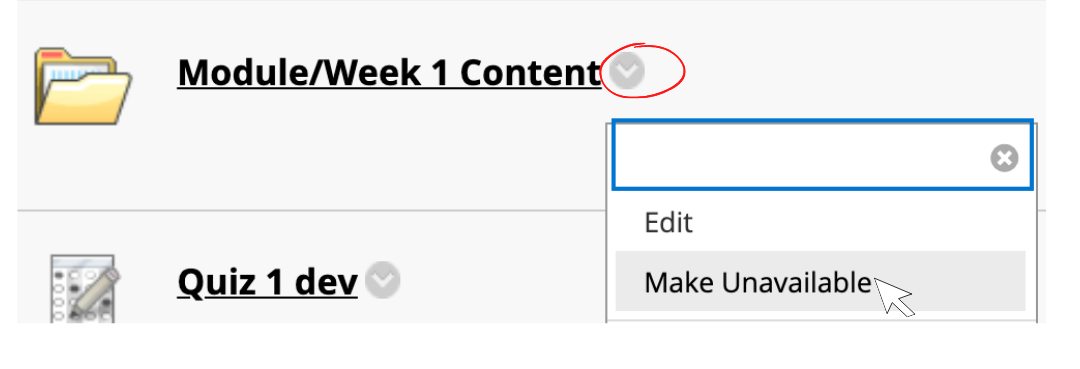
In the image above you will see that Quiz 1 dev is greyed out. That is an indication that it is unavailable to students. If you’re unsure, you can always just click on the down arrow next to content and see if it gives you the “Make Available” or “Make Unavailable” option.
It’s sometimes hard to notice, so I suggest entering student preview to ensure that you have hidden what you intended to hide from students.
If you have hidden certain content and want your students to be able to see the rest of the course, once you’re ready, you can select “Make Available to Students”. Only the unhidden/available items will show up for students.
If you have any questions about this process or need assistance, don’t hesitate to reach out.
Find more resources and tips for faculty from the Office of Online Learning, including multimedia and other tutorials.